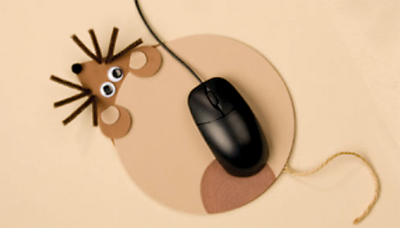
Foam Mousepad
You will need:
l Craft Foam
l Non-Slip Shelf Liner
(Non-Adhesive Shelf Liners)
l Permanent Markers
l Plain, White Paper (Newspaper)
l Craft Glue
l Scissors
Optional: Embellishment Objects such as sequins, stickers, rhinestones, wiggle eyes
Instructions:
Cut a piece of non-slip shelf liner the same size as the craft foam. Cover one whole side on the craft foam with a thin layer of craft glue and then lay the shelf liner on top of the glue and make sure it is smooth. Let the glue dry completely; you
may want to put it under a heavy book as it dries.

Decide what shape you want your mousepad to be. It can be square, round, or even cut into other shapes! Make sure it has a wide shape so there is plenty of room to maneuver the computer mouse. You can draw out your design or make it in the †computer and print it out on a plain piece of paper.
Cut it out and then trace it onto your craft foam.Cut around your tracing through both the craft foam and the non-slip shelf liner. Use the permanent markers to decorate the mousepad. If it is in the shape of an animal you can draw eyes, nose, mouth and any other details you like. If you made an abstract or geometric shape, you can draw designs; write your initials; add an inspirational quote; etc.
If you want to use embellishment objects like ribbon, rhinestones,rick-rack, and so on, glue them to the outer edge so they don’t get in the way of the mouse.Let any marker or glue dry. Your mouse pad is now ready to use and enjoy!
comments powered by Disqus


